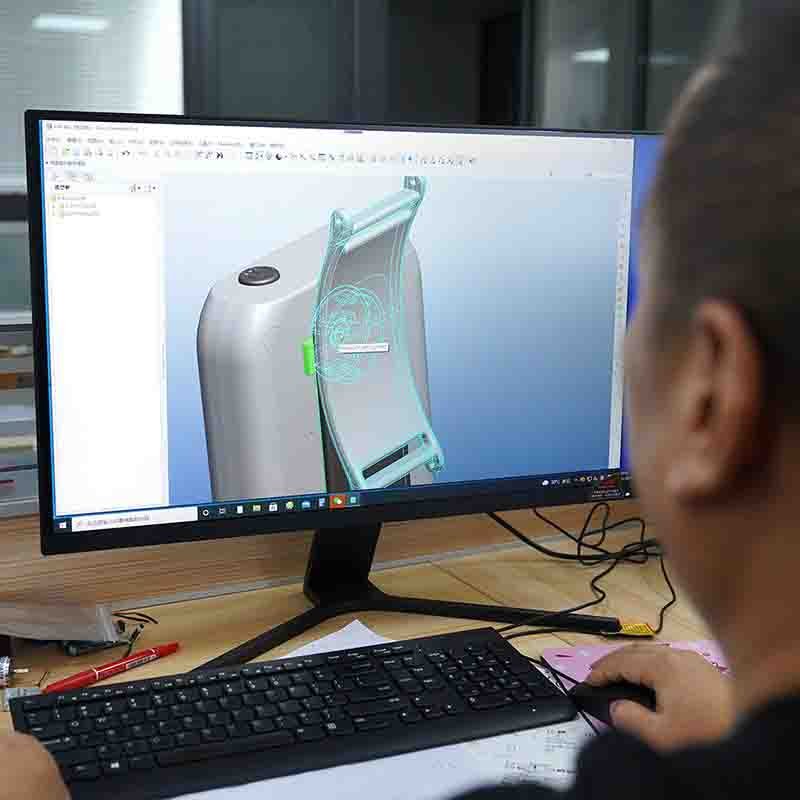
CNC machining is a highly efficient manufacturing process that produces accurate and complex parts. It is a versatile technology that can be used in various industries such as aerospace, automotive, medical, and many more. To achieve the desired results, it is essential to have a technical drawing that accurately communicates the specifications of the part. In this article, we will provide you with some tips on how to prepare a technical drawing for CNC machining.
1. Use the Right Software
The first step in creating a technical drawing for precision CNC machining is to use the right software. Computer-Aided Design (CAD) software is the most effective tool for creating technical drawings. Popular software like AutoCAD, SolidWorks, and Fusion 360 can help you create 2D and 3D models that can be easily converted into machine-readable code. These software programs offer a variety of features that allow you to create complex designs with ease. They also allow you to check for errors and ensure that your design meets the necessary specifications.

2. Pay Attention to Tolerances
Tolerances are the acceptable range of variation in a dimension. CNC machines are capable of producing parts with high precision, but they have limitations. It’s essential to specify the tolerances in your technical drawing to ensure that the part meets your requirements. Tolerances are especially important when designing parts that need to fit together or when creating parts that require a certain level of precision. Failure to consider tolerances can result in a part that does not fit or does not function as intended. Therefore, it is crucial to pay close attention to tolerances when creating a technical drawing for CNC machining.
3. Include All Necessary Details
A technical drawing should include all the necessary details to ensure that the part is manufactured correctly. This includes dimensions, tolerances, material specifications, surface finishes, and any other relevant information. It is essential to provide as much detail as possible on the technical drawing to avoid any misunderstandings during the manufacturing process. The more information provided, the less likely there will be errors or discrepancies in the final product. Therefore, it is vital to ensure that you include all the necessary details in your technical drawing.
4. Check for Errors
Before sending your technical drawing to the CNC machine, it’s crucial to check for errors. Any mistakes or omissions can result in the production of a faulty part. Use the software’s built-in tools or third-party software to check for errors. It is also a good idea to have someone else review your technical drawing to ensure that everything is correct. It is much easier and less expensive to correct any errors before the manufacturing process begins. Therefore, it is essential to double-check your technical drawing for accuracy.

5. Collaborate with Your CNC Machinist
Collaborating with your CNC machinist can help ensure that the technical drawing is accurate and achievable. Your machinist can provide valuable feedback on the design and suggest ways to optimize the manufacturing process. They can also help you identify any potential issues that may arise during the manufacturing process. By working with your machinist, you can ensure that your part is manufactured accurately and to your specifications. Therefore, it is crucial to establish good communication with your CNC machinist.
In conclusion, creating a technical drawing for CNC machining requires careful attention to detail and collaboration with your machinist. By following these tips, you can ensure that your part is manufactured accurately and to your specifications. A well-prepared technical drawing can save time and money in the long run by avoiding errors and ensuring that the final product meets your expectations. Whether you are a professional engineer or a casual hobbyist, these tips will help you get the most out of CNC machining.

